
A sewing pattern might be noisier than it sounds. A pattern piece may have many sizes marked, arrows that criss-cross it, small triangles on the edge, a few circles, a fold line, a dart, and a handful of smaller labels jockeying for attention. It can feel crowded because the pattern has a lot to say. You start by learning to read it in a way that slows you down, by breaking these marks into groups instead of taking in all of them as if at once.
The first set of marks that stand out is the grainline, which shows you how a piece should be placed on fabric. It is a long arrow, and the arrow needs to run parallel to the selvage and not just a direction that seems right. If a piece is cut off grain, it is likely to twist or drape strangely and look wrong in a finished garment, even if it was sewn neatly. Before pinning it down, measure from both ends of the grainline arrow to the selvage so you know both ends are at the same point.
You need to be just as mindful about the cutting line. There may be many sizes on the pattern, and the line you are about to cut might not be the outermost one printed on the pattern. Look first for the size you are cutting, especially around the curves and in areas like the waistline, armholes and side seams. If you have a size chart, look up your measurements before you decide on a line to cut. Cutting the wrong size can be disappointing because you discover the mistake before you put it under your machine, and it can be hard to make up for once some fabric is gone.
Notches are those small matching marks, often represented by triangles or short lines on the edge of a pattern piece. Their job is to help you match two pieces that need to be matched, such as the two side seam panels of the front and back, the top of a sleeve and armhole, or a facing and the top of the bodice neckline. Be careful about how you mark them, whether you are using tailor’s chalk, a water-soluble pen, or by clipping into the seam allowance if that is practical. Missing a notch can make it feel like you’re sewing blind, especially where two edges might look similar but are not perfectly matched.
Pause and give darts their attention, too, because darts are not just pattern decorations. They are marks that create shape and allow flat material to fit a three-dimensional body. The dart might have two legs and a point. Make those markings clear on the wrong side of your fabric before you take the pattern paper away. If your markings are hard to see, you can’t be sure of your stitch line, and you can end up with a poorly executed dart that looks puckered or out of shape. A ruler, some chalk, and a few pins can make things much easier to deal with than trying to guess.
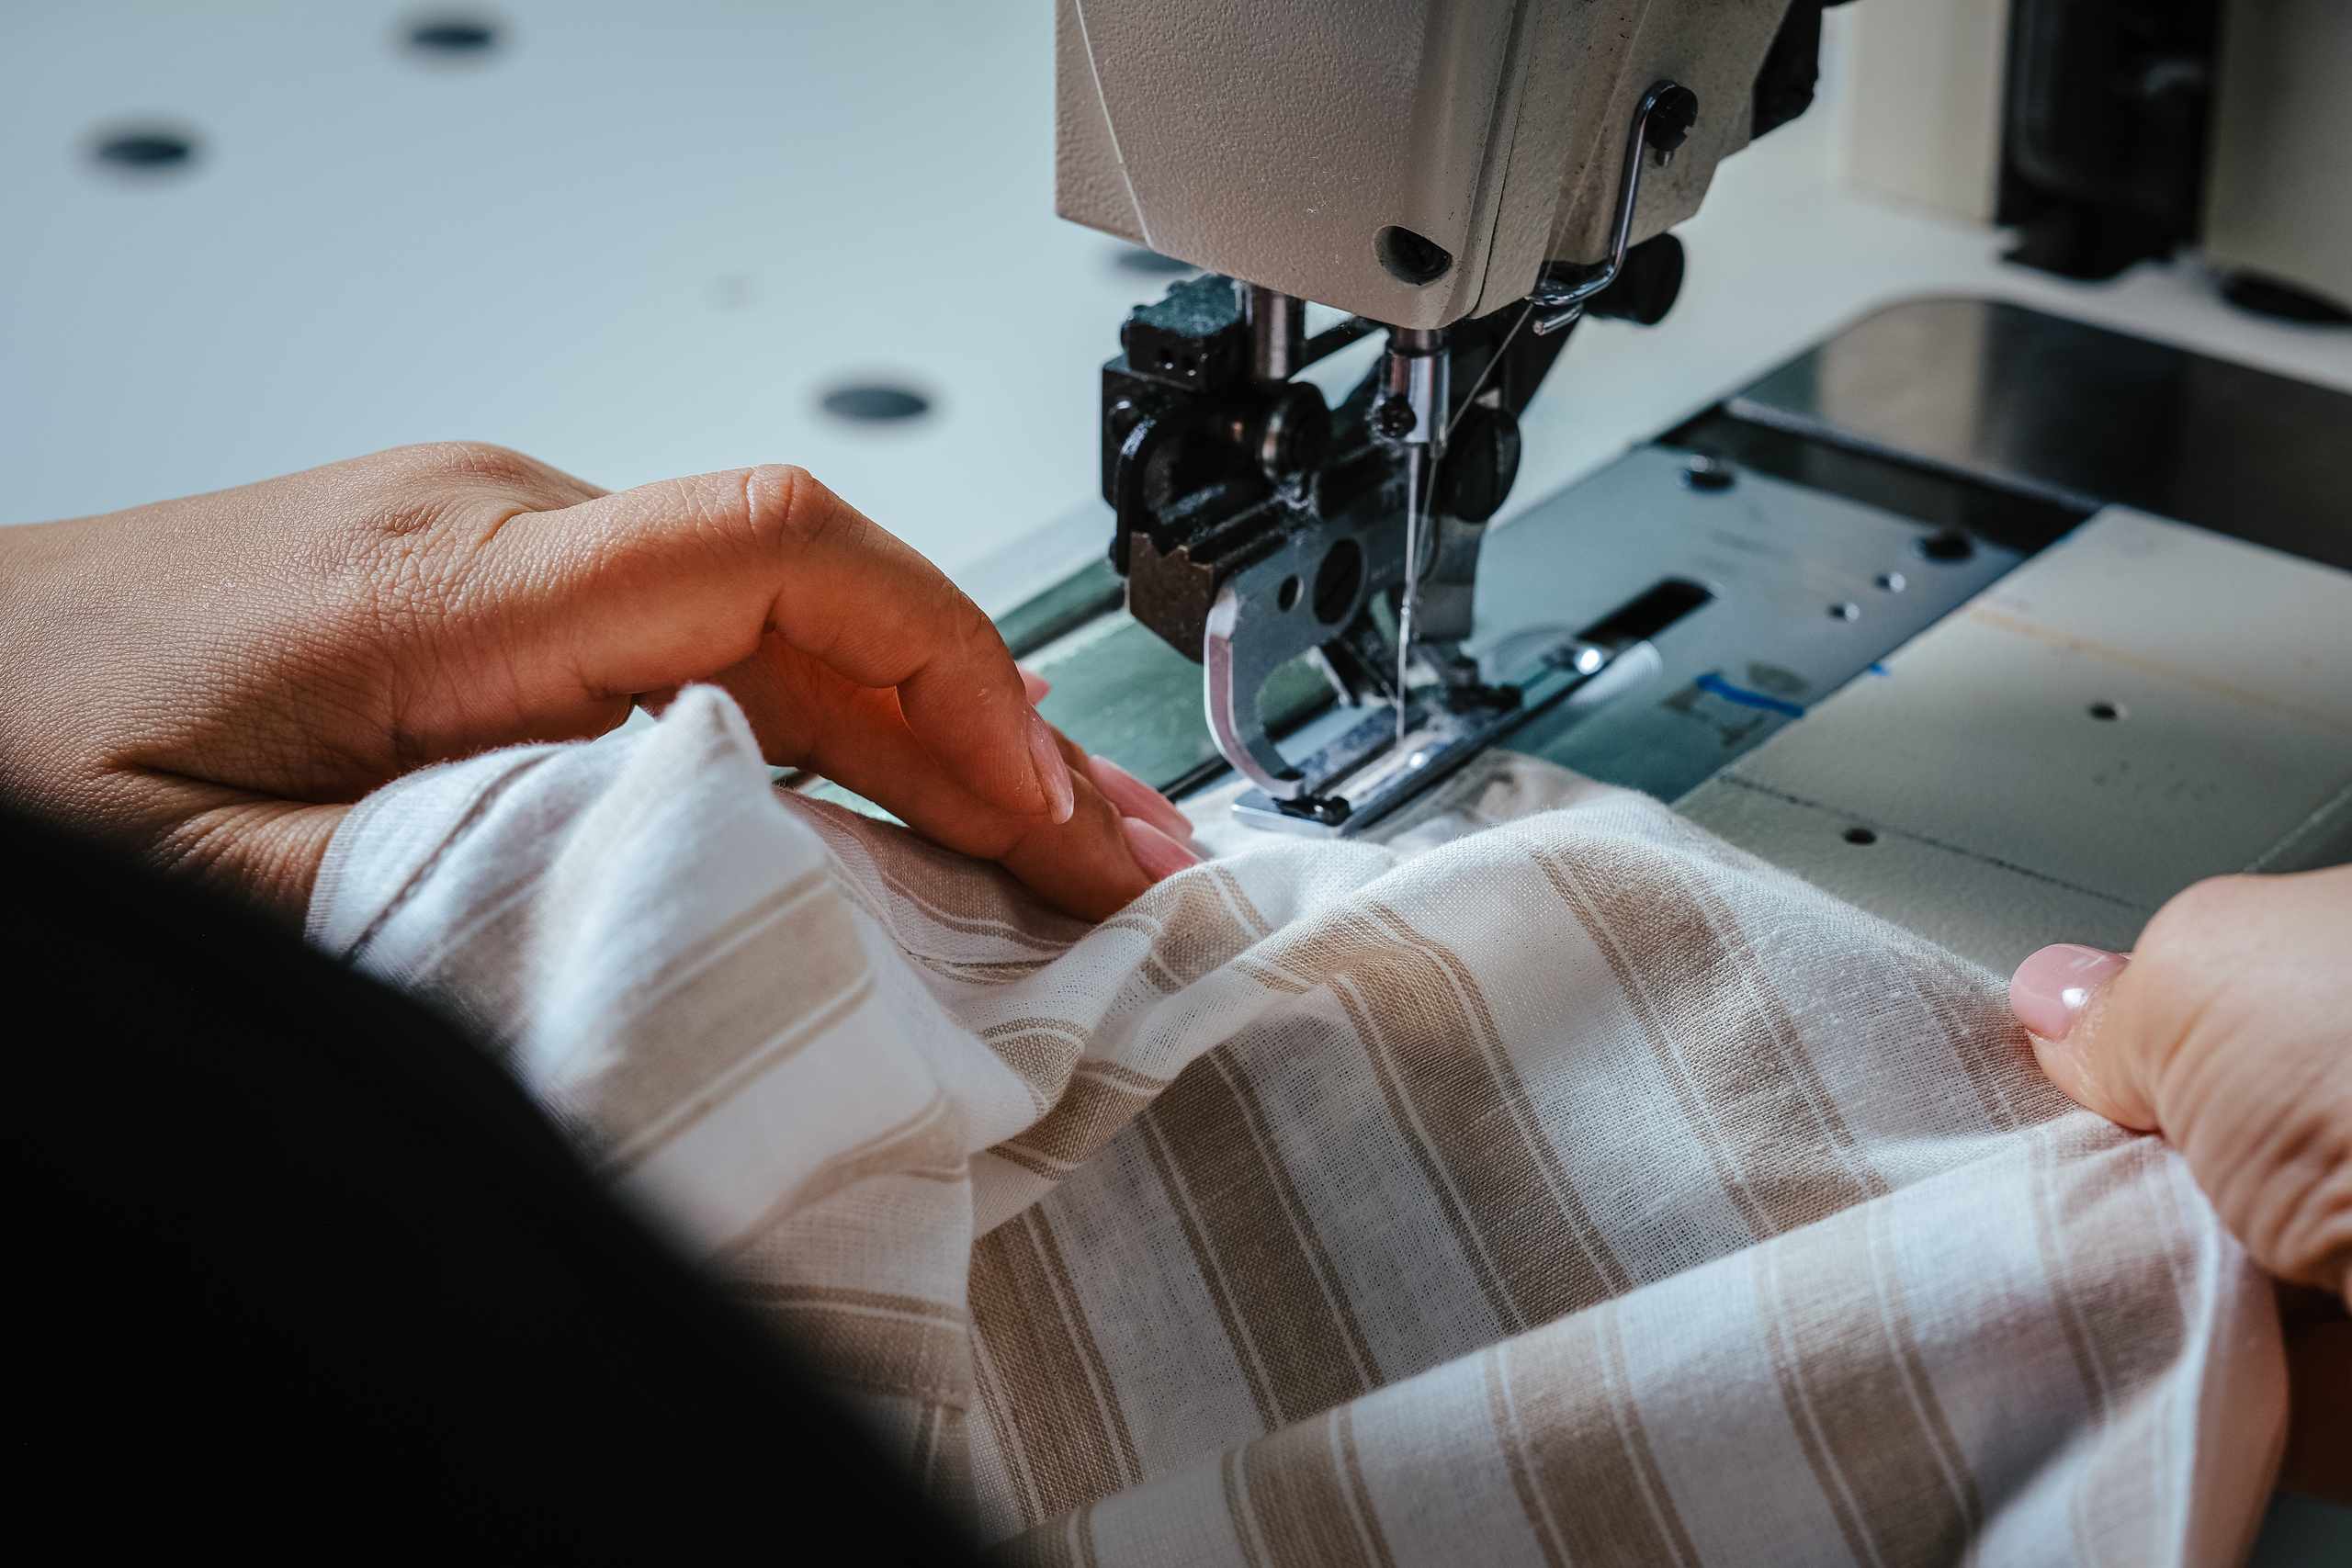
One practice is to pick a pattern piece and name every mark it has before you cut a scrap out of fabric. Read each mark out loud: this arrow tells me where to place grain; this line shows me the size I am cutting; these notches will match another pattern piece; this dart will need to be transferred; this line is the fold line. Next, place your pattern on a fabric scrap or another type of inexpensive practice fabric and mark it as you would if it were a garment. The symbols on paper have now become a series of actions: align it, pin it, mark it, cut it, match it, stitch it.
When you can see a pattern as a guide to the next step instead of a source of anxiety, you can learn to read it at your own pace. You do not need to memorize every symbol right away. Just start by identifying the lines and markings that determine the shape or structure of a piece, like the grainline, size line, notches, darts, the fold line and the seam allowance information. Take care with those, and the pieces will be more likely to fit together; the seams make more sense; and you feel ready for the sewing machine step because it is part of a methodical process, rather than damage control.